Back Deck Rebuild
Preamble
At the end of the 2019 summer, Emily and I resolved to have our deck rebuilt in 2020. It’s a great feature of this house and we spend hours outside on the deck whenever the weather allows. It’s a big deck. Not fancy, but spacious and has all the best qualities of a deck:
outside
raised above the ground so you aren’t sitting in dirt
easy in/out access to the house
We all love the deck. I even strung up some festive lights so we can extend the deck’s operating hours. Breakfast coffee, lunches, afternoon book reading, dinner, after dinner cocktails, midnight star gazing, anytime is deck time.
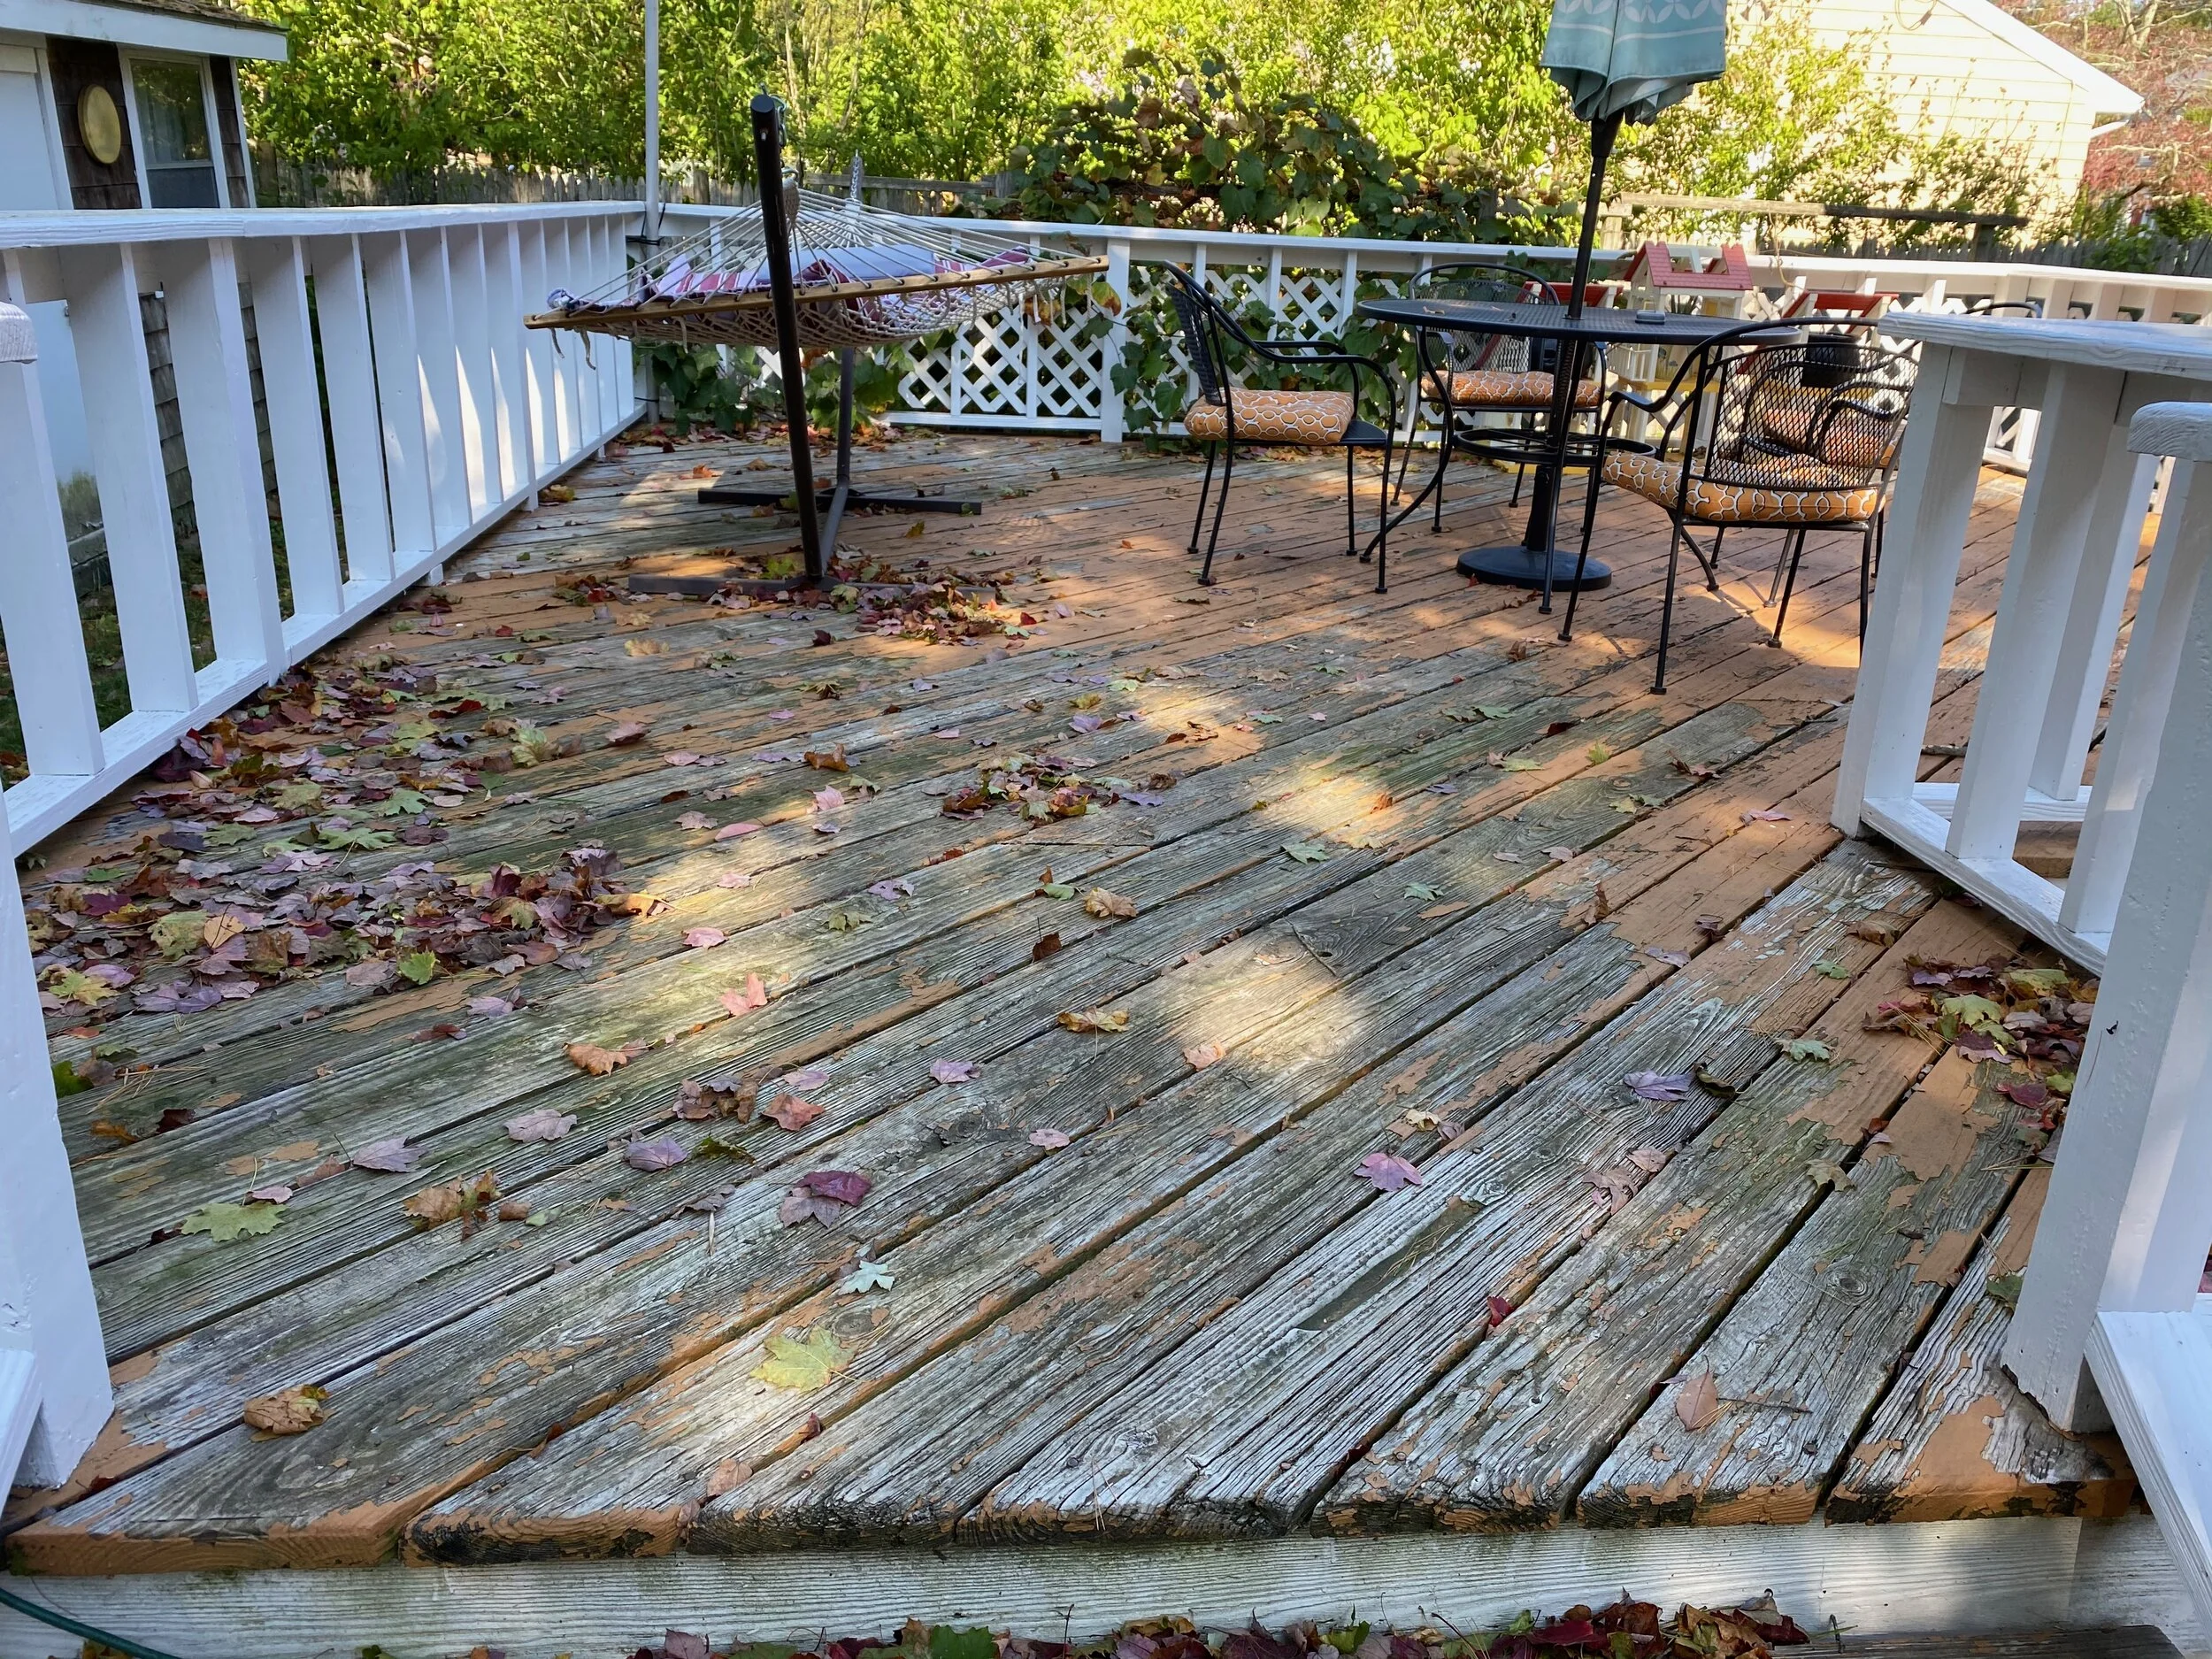
With the pandemic keeping us homebound more and more, the deck has proven a great spot to visit with friends (socially distanced). It also serves as just some place a little different to hang out when you’re sick of the living room or kitchen. So, the deck is great. But.. it’s a bit worse for the wear. When we bought the house a few years ago, the deck surface had been hastily painted to hide the rot which became hard to ignore.

Though 2019-Gareth figured we’d hire a contractor to rebuild the deck, with my business slowed to a crawl since March, 2020-Gareth has plenty of time to tackle house projects and save a few bucks.
The premise was simple. Pull up the old boards and replace them with Trex composite planks. But like all house projects, the details grow in size and number the more you discover…
Weekend 1 - Oct 3
First step, cut off the railings.
Railings removed
Step 2, pry up all the old planks. The planks alternated 2x8 & 2x6, laid on a diagonal. I used my favorite crowbar to dislodge the boards. It took the better part of the day, but wasn’t too bad.
Planks removed
Planks removed
The next day was spent cutting up all the debris and hauling it off to the dumpster at my shop. It took as long to cut it up and dispose of it all as it did to rip it up.
As you may be able to tell from the photos, the substructure was a little substandard. The next few weekends would be spent correcting some (but not all) of those sins. The problems I wanted to address were:
The joist spacing was 24” on-center. This made the deck spongy since the deck planks didn’t have enough support. Since I was replacing the 2x6 & 2x8 planks with composite boards, the problem would get worse. The Trex planks are great for low maintenance and durability, but they are not going to win any rigidity contests against lumber. Therefore, I needed to cut out all the joists and rehang them on 16” centers (adding in a few more).
The main “beam” in the deck was a single 2x8. Supported by one central post and secured to the rim joists with some overly confident nails, this was insufficient. I would replace the beam with doubled 2x8’s and add two more posts to properly support the ends of the beam.
I would dig out and pour 16” diameter footings for the two new posts that would support the main beam.
The railings lacked a few posts, and several posts were only ever attached to the deck boards. I would add more railing posts and secure them to framing directly.
Weekend 2 - Oct 10
Saturday I spent cutting out and removing all the joists. The joists had been toe-nailed into the house ledger, the main “beam”, and the far rim joist. In preparation for the task of cutting through all those toe-nails, I ordered some bi-metal blades for my oscillating tool. I’m fascinated by the oscillating tool. Not because I’ve found it useful, quite the contrary, but I know some people swear by these things and I’ve yet to find a real purpose for it. I’m still looking.
The oscillating tool smoked the bi-metal blades before making it through the third nail. Frustrated, I chucked a 12” blade into my sawzall and got to work. As it has for decades, the sawzall gobbled up all the demolition work without breaking a sweat (which was more than I can claim for myself).
Joists gone, concrete mixed
With the joists and beam out of the way, I dug two 16” footings for the posts to support the beam. I mixed up 800lb of concrete and did my level-best to level the new footings. I did as well with that as I have in the past, which is to say not great, but serviceable.
On Sunday, I found my middle-aged body moved a little tenderly after the prior day’s concrete lumping. So I took my precious time chiseling out a level spot in the footings, setting the new posts, making a new beam, and securing the beam in place. Before I ran out of ambition, I managed to hang the first couple joists as well.
Weekend 3 - Oct 17
I spent the weekend cutting and hanging all the joists for the half of the deck closest to the house. Since the new beam was thicker than the old beam, the joists needed to be shortened. I reused all the old joists, as well as cutting a few new ones (due to the tighter spacing). The old joists were infested with nails, so cutting them took a bit of time. I sacrificed one of my 10” triple-chip blades to the process. Yes, yes, I know that triple-chip blades are meant for non-ferrous metal. But funny story, it works not terribly on nails as well.
The joists were all hung with Simpson joist hangers and screwed into place with the appropriate Simpson fasteners. I flipped all the joists as I hung them, so that the previous deck plank holes faced downward and the skyward edge was pristine, ready for new planks.
October 23-26
I took a few days off of work around the weekend to crank a little harder on the deck (besides, not a lot going on at the shop this year). I got the rest of the joists hung.
…and then added some more blocking to stiffen it up a bit
Then finally, after much preparation, the deck planks could start to be screwed down. I used the Trex hidden fastener system which works pretty well and looks great.
All the boards I bought were 20’ long. The deck is annoyingly 16’-4” wide in the narrow section. Why not just 16’ so that you can deck it with a 16’ board? Heavens knows. So I rough cut about half the board to 16’-5” (leaving a smidge to be trimmed in-place) and moved them from the driveway to the back yard. Just the tromping back and forth took about an hour, but I still had time to secure a few in place.
Nov 5 - 8
So… in the first week of November we caught our first snow. Mildly startled that I was in danger losing my progress to the weather, I worked the next stretch of warm days we had which was enough to wrap up (at least enough until Spring). I got the rest of the deck boards down:
The final day of work was filled with making a new set of stairs. It was a race against the sunset, which I lost, but by the glow of my Makita work light, I got it finished just a few minutes after sunset.
With the planks replaced and the stairs rebuilt, I tied up some temporary ropes as handrails and called it quits until the Spring. After the thaw, I can make some proper handrails, add a facia band, fit some new lattice, and paint the posts (old & new). But for now, we can enjoy the few warm night left in 2020!